Rejuran Healer Session 5 & Melsmon Placenta Injection Review
A clinic doctor shares a personal 5th Rejuran Healer session review with day-by-day photos, plus notes on Melsmon placenta injections at Dayone Clinic.

Last Friday was my day off, and I finally got my 5th Rejuran session. :D
It had been about 5–6 weeks since my 4th treatment.
For those curious about Rejuran, please refer to my previous Rejuran Healer post:
http://blog.naver.com/tnfclinic/221067512760
You can also search "Rejuran" on my blog to find all my past reviews in one place. 😄
Friday is a day when I have no patient consultations scheduled, but I almost always come into the clinic on Fridays to get treatments done myself.
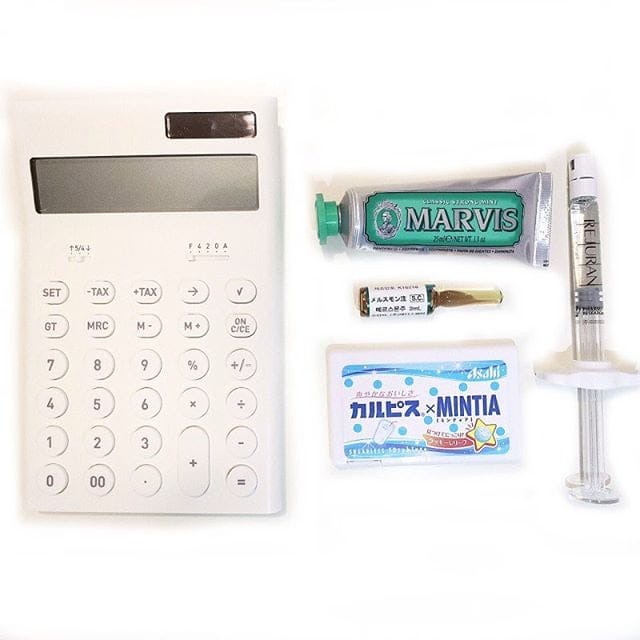
Before the Rejuran procedure, I placed everything on my desk and took a photo because I thought it looked nice.
Rejuran actually has pretty packaging.
The item on the far right is 2cc of Rejuran.
And next to it, the Melsmon placenta injection ampoule that I've been getting occasionally these days.
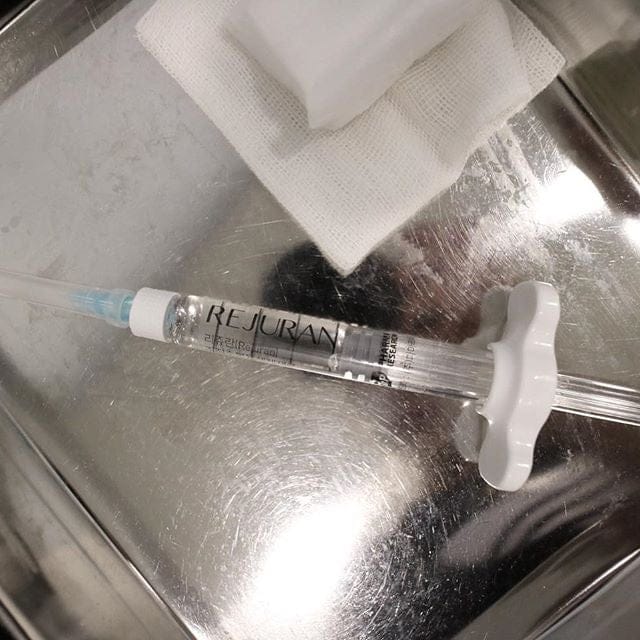
And here's a photo of the needle set up and connected before the procedure.
On this day, I applied the numbing cream for a good while, then injected into my own face myself.
For those wondering what the raised bumps (embossing effect) and needle marks look like right after the procedure, here are some photos…
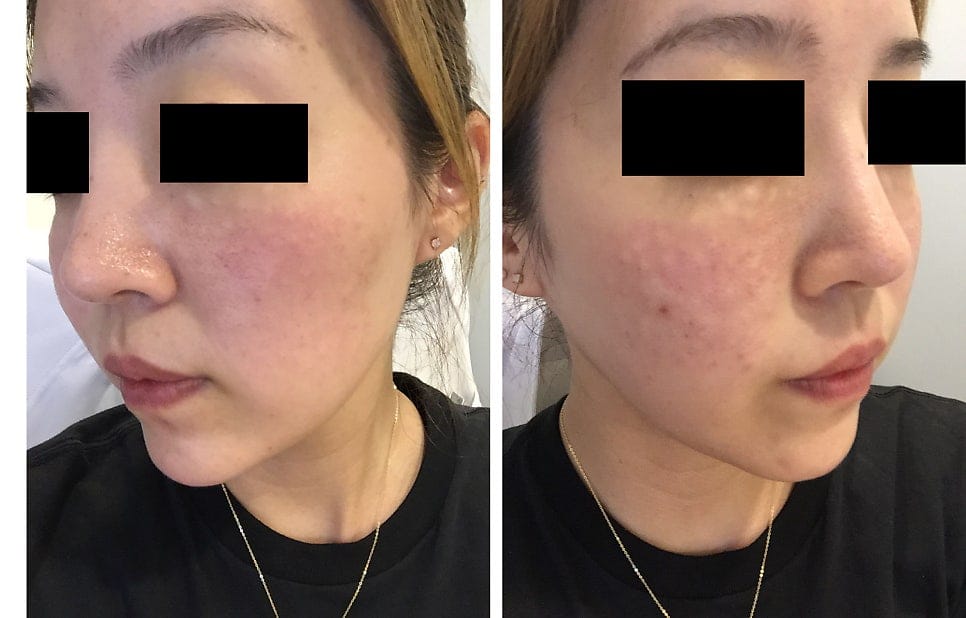
This is right after the procedure.
You can see the bumpy, raised texture along with some needle marks, redness, and mild swelling across the face.
(I tend to be a bit more sensitive to numbing cream, so my redness comes up a little more noticeably.)
You can cover it with BB cream or makeup, but the raised bumpy texture does linger a bit.
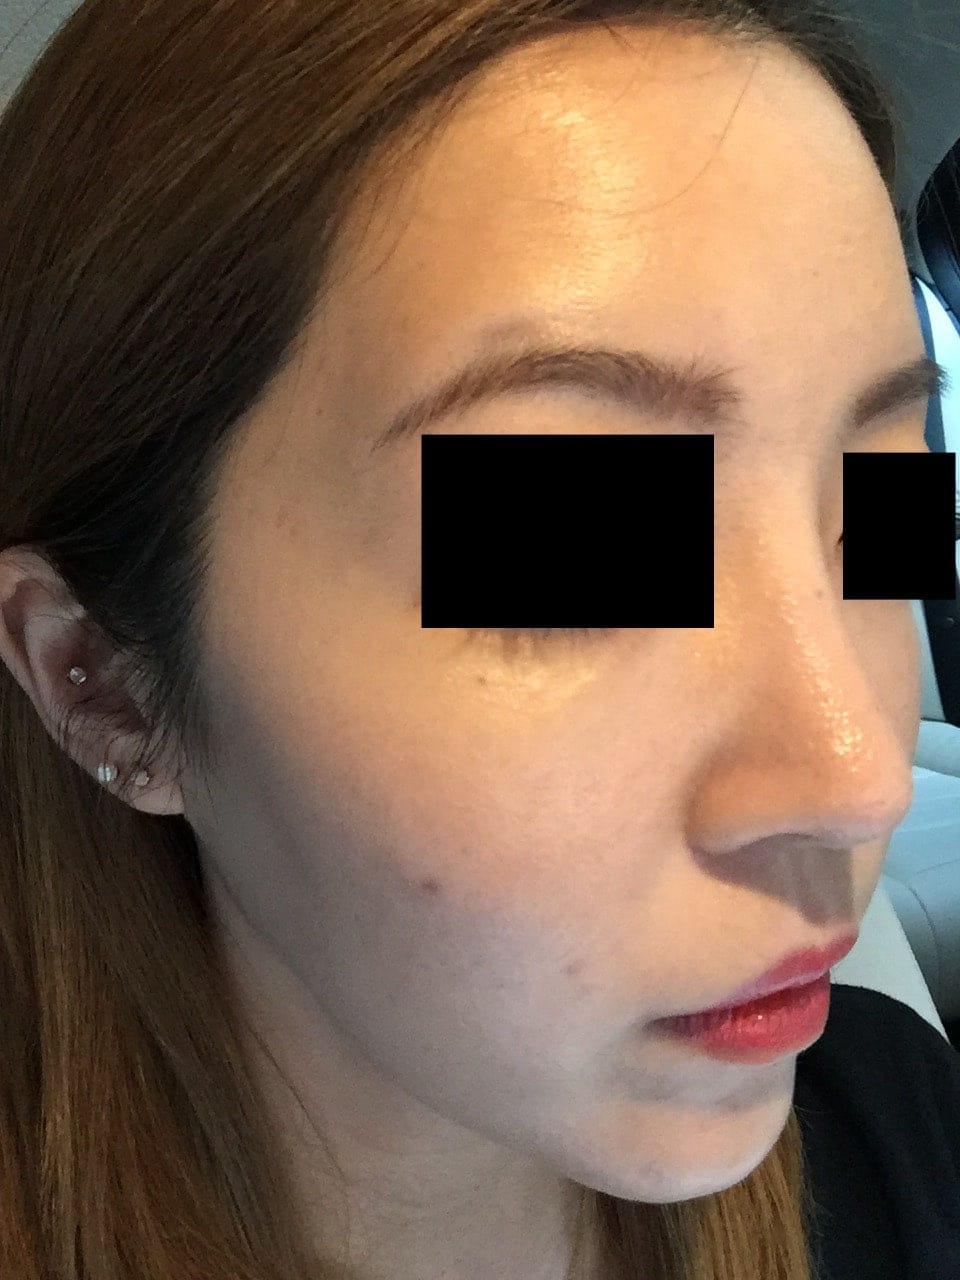
And this photo was taken the day after the procedure.
By the next day, the embossing effect is almost completely gone, with only slight needle marks remaining.
+ Taken with BB cream applied.
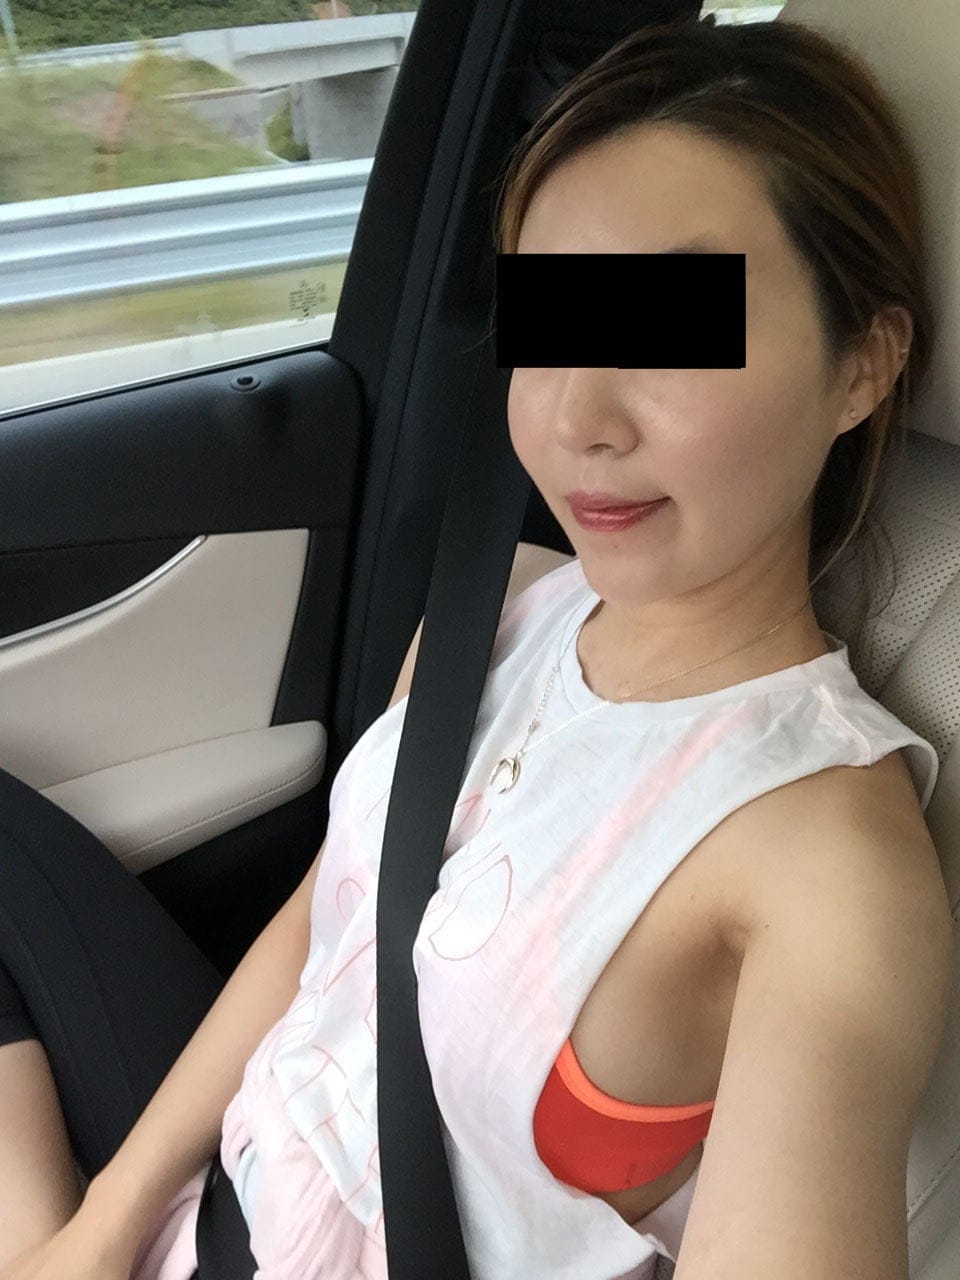
This photo is from day 4 after the procedure.
The embossing and needle marks have mostly faded, and the skin is starting to look more radiant.
Personally, from around day 4–5, I notice my skin feels moisturized and supple even after washing my face, without that tight, dry feeling — though this can vary from person to person depending on individual skin dryness and oil-moisture balance.
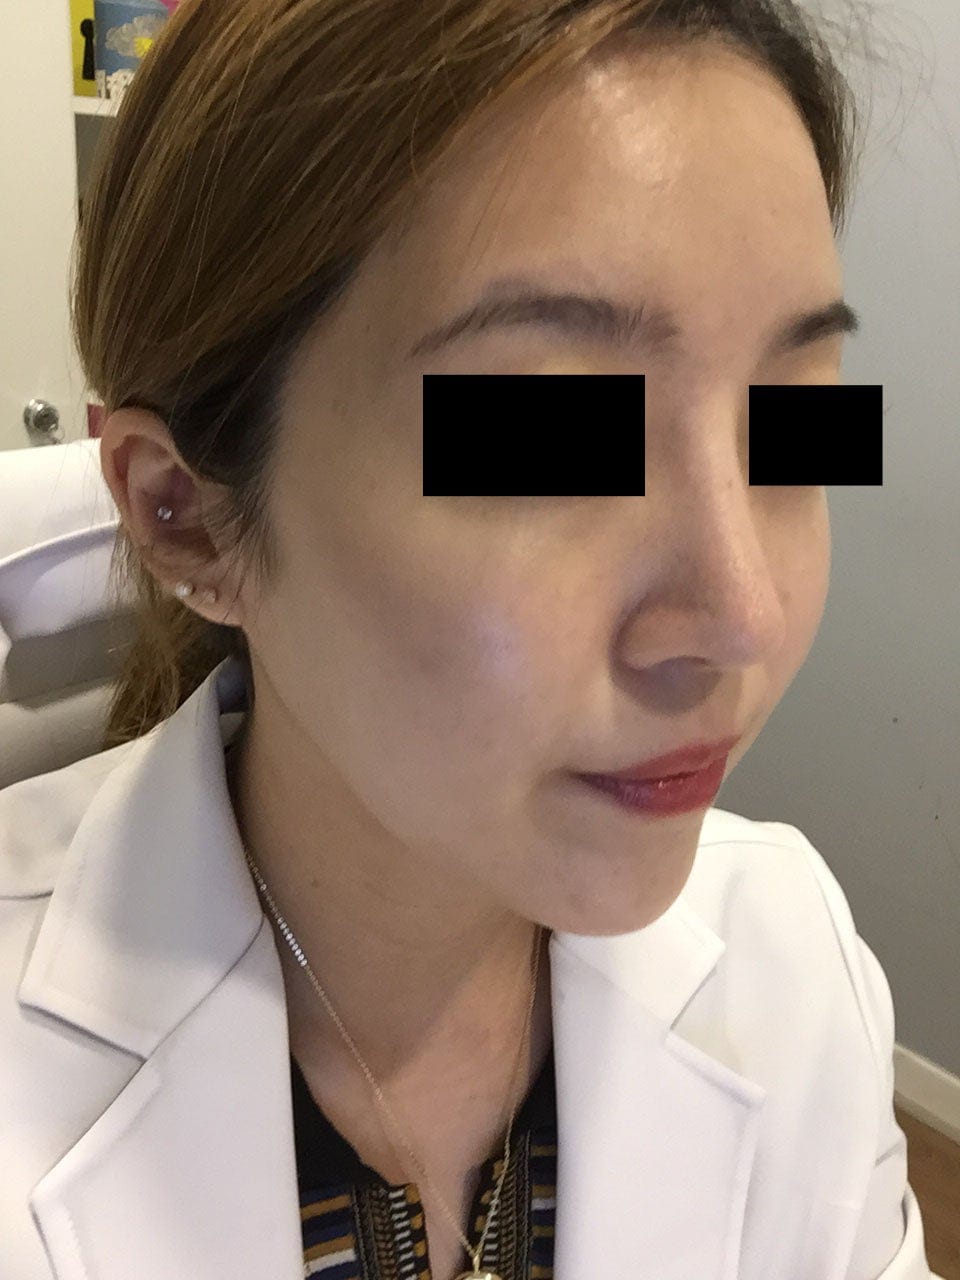
And this is the photo from day 5 after the Rejuran procedure.
The needle marks and embossing are barely visible, and overall the skin tone has brightened noticeably, with a smoother, more even texture.
This time I took photos nearly every day after the procedure, specifically to write this review — and sure enough, the skin really starts to improve noticeably around the 5-day mark.
Recently, a patient who had Secret RF and Rejuran done at the same session came back two weeks later for before-and-after photos, and both the patient and I were genuinely surprised. The overall skin tone had brightened so significantly and the skin looked so much better — we were both amazed. ^^
Rejuran is one of those treatments that, once you've tried it, you find yourself wanting to keep up with regularly.
I highly recommend it for anyone dealing with dryness, or looking to improve skin texture and even out skin tone.
As I always say, it's almost like a magic injection that helps the dermal layer — which no skincare product can truly reach — become healthier, firmer, and more youthful.
That's all for today's review.


